EAS dashboard provides nearly real-time data on current liabilities. It is also the source for detailed data and ready-for-filing reports.
Introduction
As soon as, EAS solution is connected to the Customer’s store, the Customer is allowed to access and use the EAS merchant dashboard - a specific user interface for managing orders including fiscal and sales reporting for all schemes that are used by the customer.
Depending on the integration level some customs and shipment data along with labelling can be handled in the EAS dashboard. Normally standard SME customer integration for Shopify and WooCommerce customers does not include these additional services
Link for creation of access credentials is created automatically and expires in 12 hours. If you have missed the deadline , please , request the new link vie e-mail to info@easproject.com. Request should be made from the e-mail registered in EAS system. Quote the name of the company in the request.
Access to the EAS dashboard
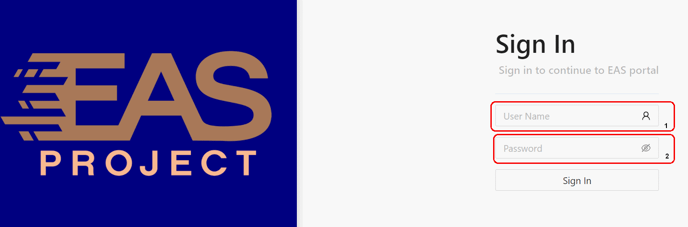
Access to the EAS dashboard is available via login page URL: https://dasboard.easproject.com.
Access credentials (Username (1) and password (2)) are to be entered at the login page:
Merchant dashboard main view
If proper access credentials are used, the following view becomes visible:
Six identical menu options are placed horizontally at the top of the page. Vertically placed menu options are expandable with sub-options remaining visible, while the horizontally placed menu options only fold out for using a chosen sub-option.
Merchant dashboard menu options (sub-options in the brackets):
- Dashboard. The option is used only to remove any visible information visible on the main view area. See below Menu option “Dashboard”
- Orders (Confirmed orders, Orders fulfilment, Order Returns, Order Discounts) The option is used for displaying the list of Merchant orders (with the possibility of filtering) and fulfilment of orders. See separate article Orders Management in the Merchant Dashboard for details. Managing returns see EAS Merchant Dashboard, returns management
- Invoices. The option displays issued invoices with the designation of payment status. See separate article Invoice management for details.
- Sales Reports (standard VAT reports, Fiscal VAT reports). Regular reports are displayed in this view. See separate article Reports management for details.
- VAT corrections. Choosing this option allows input of VAT corrections into fiscal VAT reports. This feature described in the article Manual VAT corrections
- E-mail notification settings See below “Email Notification Settings ” option
- Option “Payment Methods” is only available on the left side menu. See separate article Payments methods management for details.
- Settings and notification panel is situated in the upper right corner of the interface. See below Settings and notification panel.
Menu option “Dashboard”
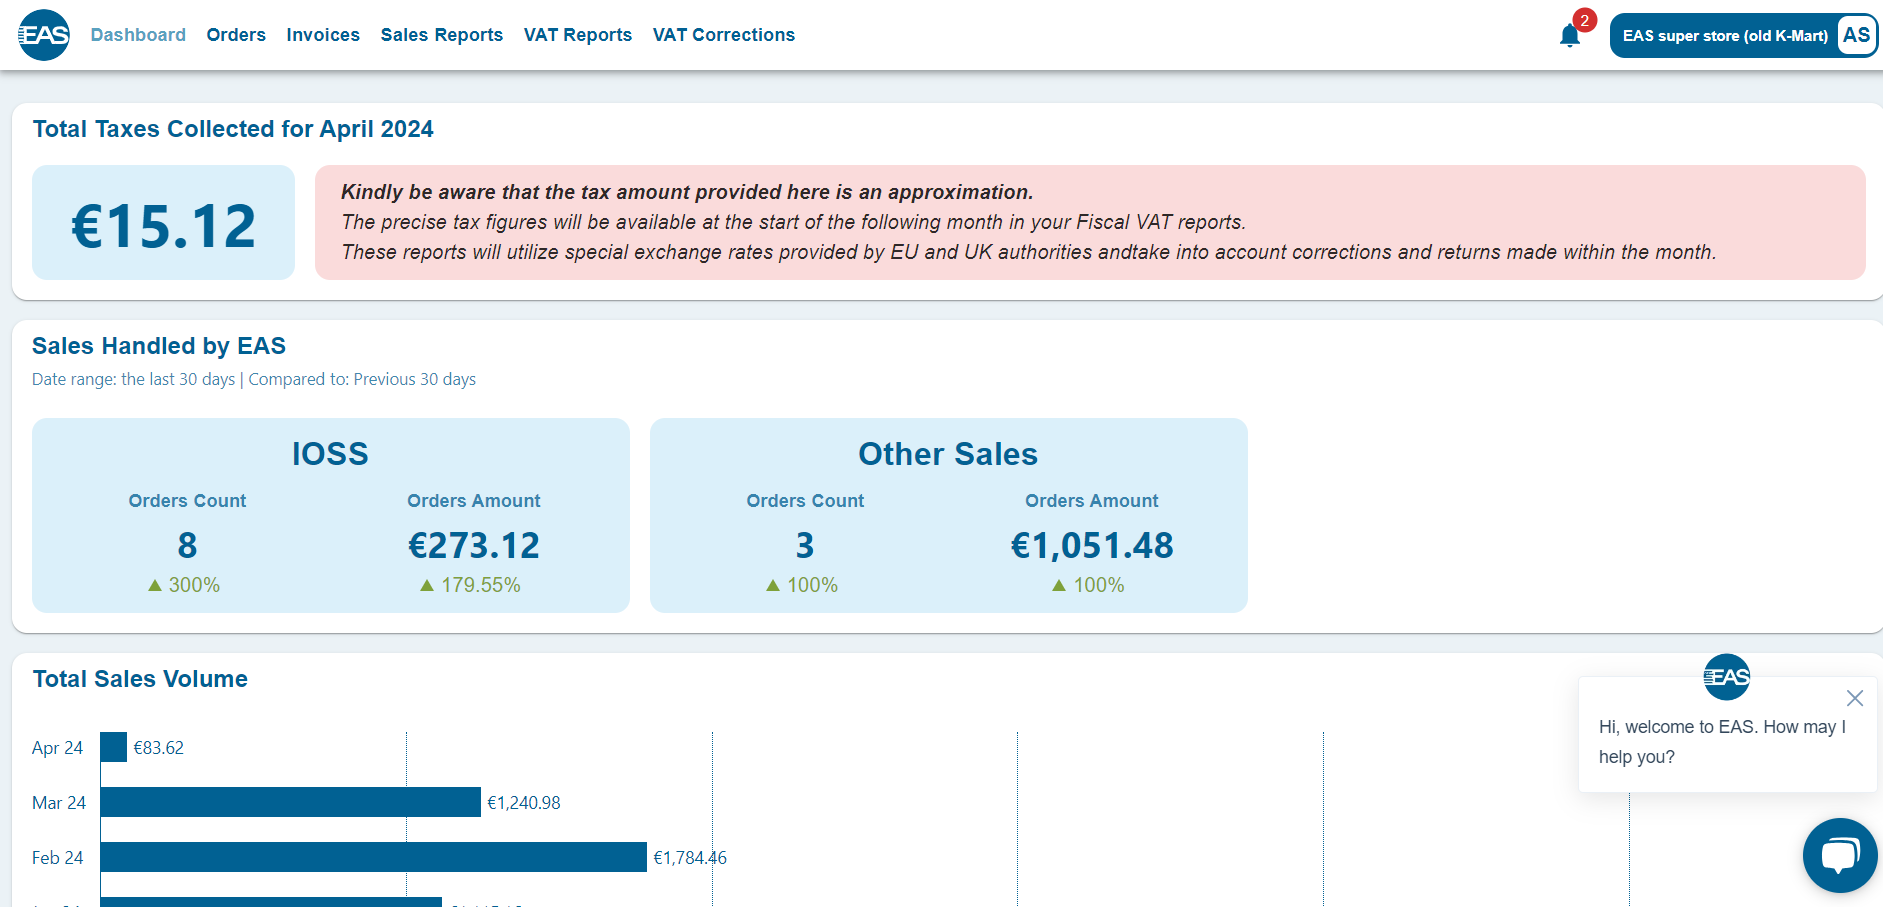
The option can be chosen at any time. Pressing the “Dashboard” button on horizontal or vertical menu line-ups leads to clearing of the main view and displays your sales statistics.
Dashboard statistics provides insight in the volume of sales (monthly breakdown), sum of collected VAT for the current month, number of orders in all applicable VAT schemes.
Statistics are cached and recalculated on schedule basis. If customer wish to see up to date information please press Refresh button in the upper right corner. This will initial recalculation of statics.
“Notification Settings” option
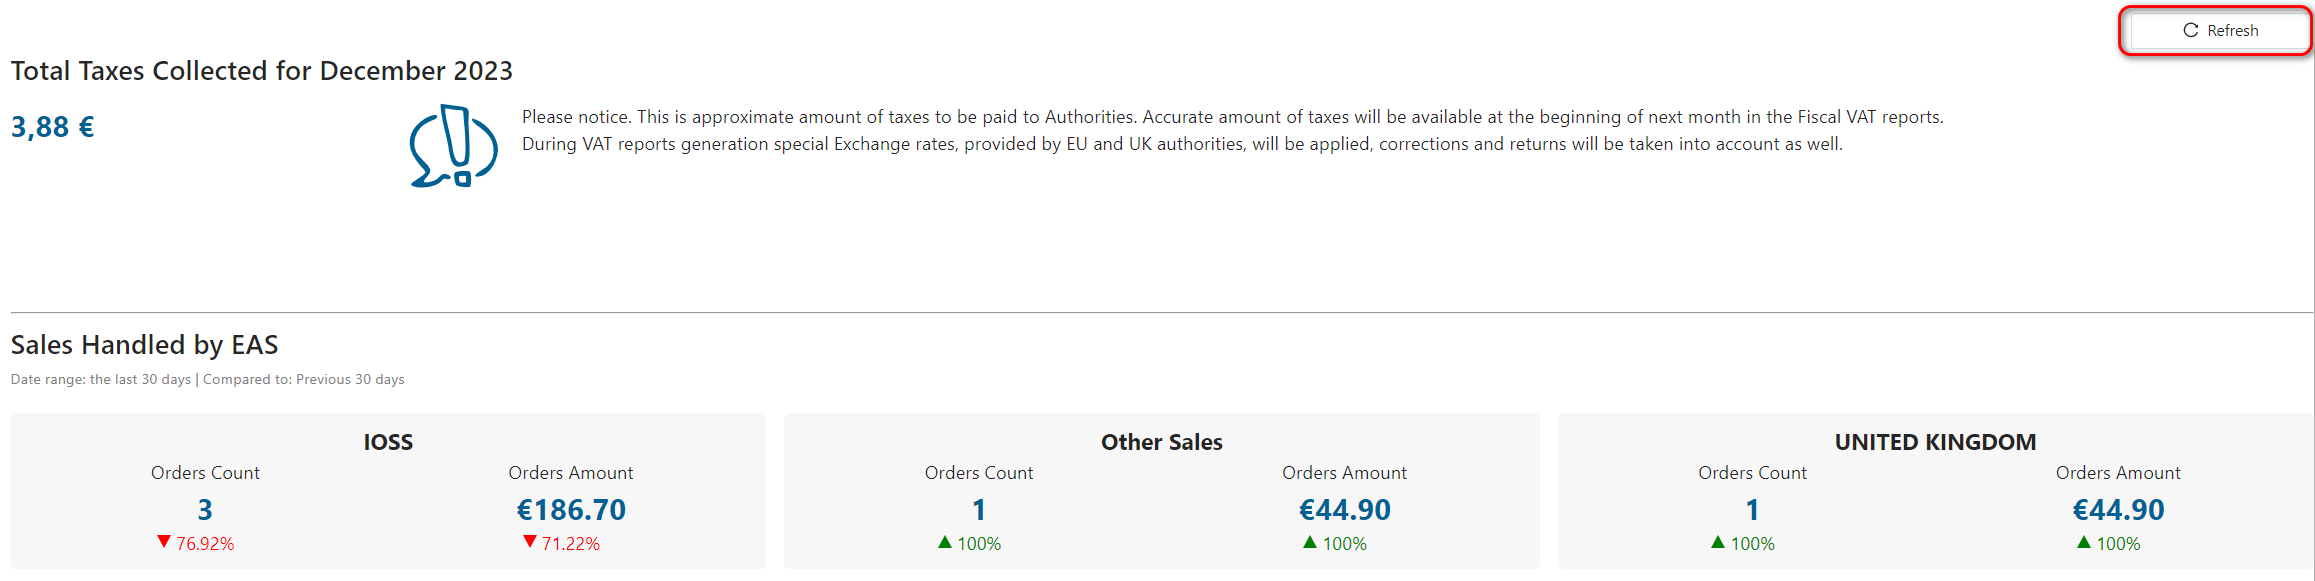
This options allows to add notification on essential actions to connected e-mails and connect new e-mail addresses for Merchant’s team members.
After initial installation only the e-mail address given by the Merchant during registration is connected.
New users can be connected by pressing “ADD NEW USER” button.
Notification for connected e-mails can be viewed/changed by pressing “bell” icon ![]() :
:
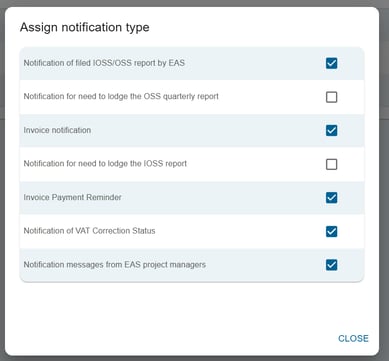
Notification content is self-explanatory.
Settings and notification panel
Setting and notification panel is situated in the upper right corner of the EAS Merchant dashboard. By clicking on I enables a drop-down list appears. By clicking on General Settings, the General Settings menu appears.

“General Settings” option (1) allows you to view and set essential store and system options
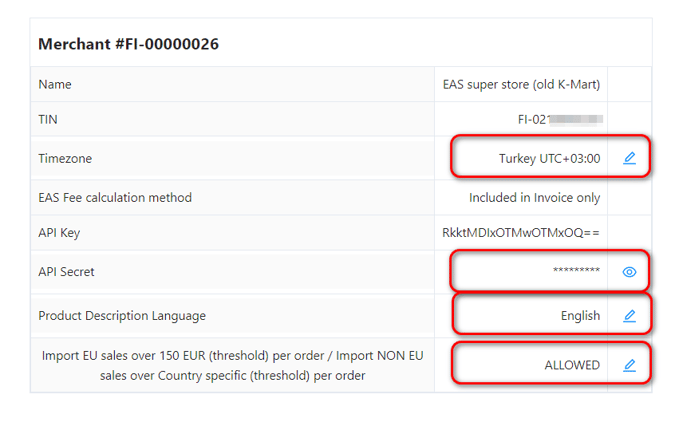
Timezone setting allows to set the time of your server to the EAS system. If EAS has set your store this setting does not need to be changed.
API keys available in this view are used for the EAS application/plugin installed in your store to be connected to the EAS backend.
“Import EU sales over 150 EUR (threshold) per order / Import NON EU sales over Country specific (threshold) per order” allows in some integration configurations to allow intermediary limiter page to be used in your store.
Option “Contract“ (2) allows you to see the current and previous versions of the contract with EAS.
“Change password” option (3) allows you to change access password.
“Messages” option (4) directs you to the messages from the EAS support.
“Payment methods” options allows you to add payment cards for automatic transactions and see past transaction made with your cards:
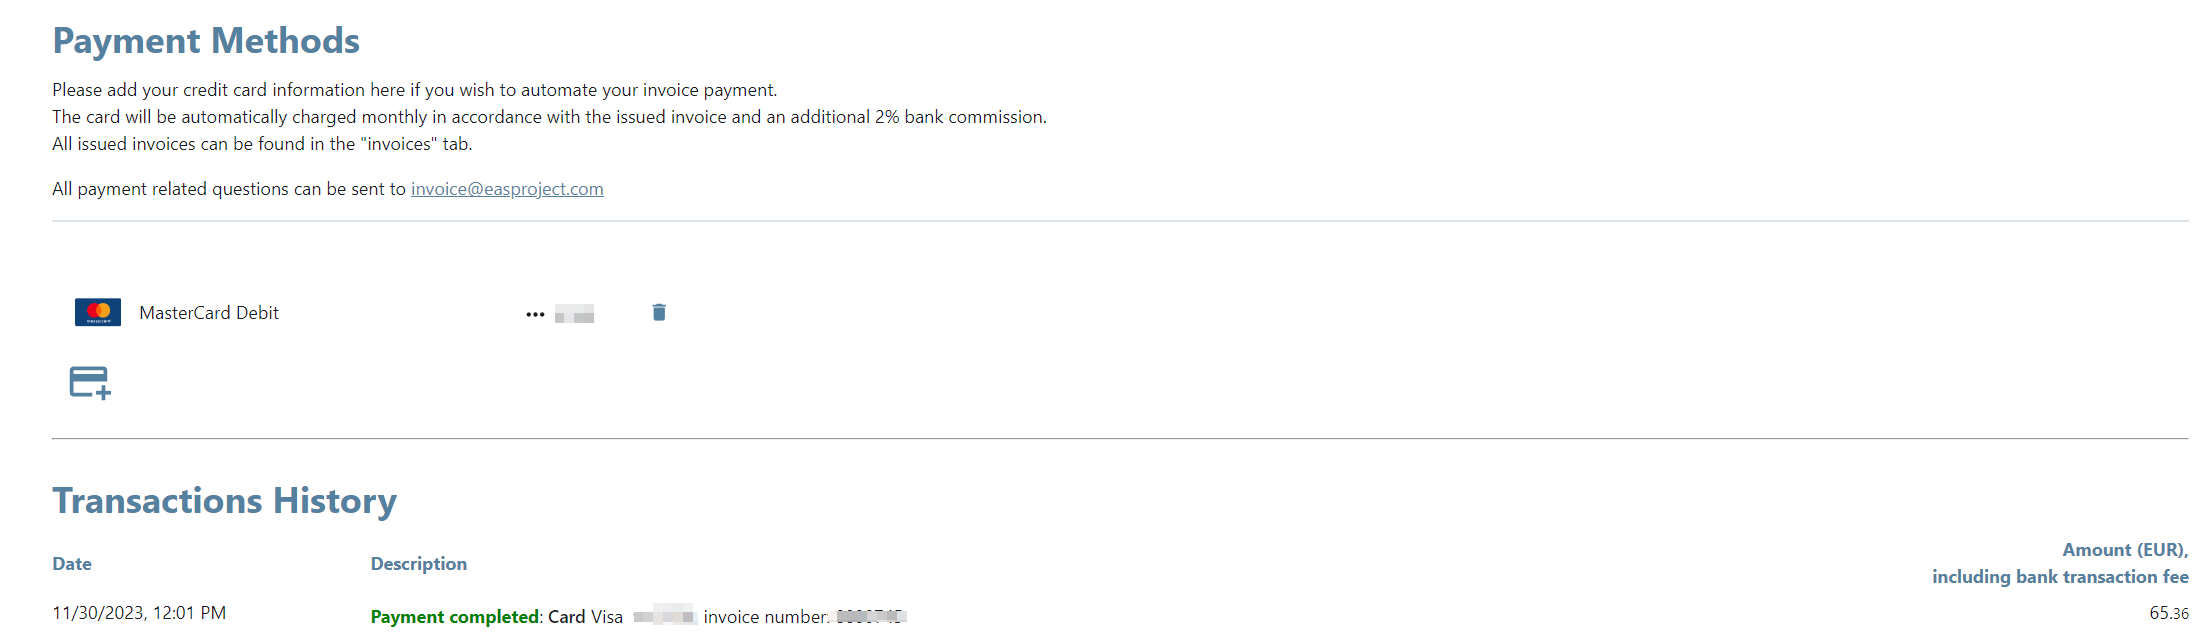
See separate article Payments methods management for details.
For more information, contact us at support@easproject.com